
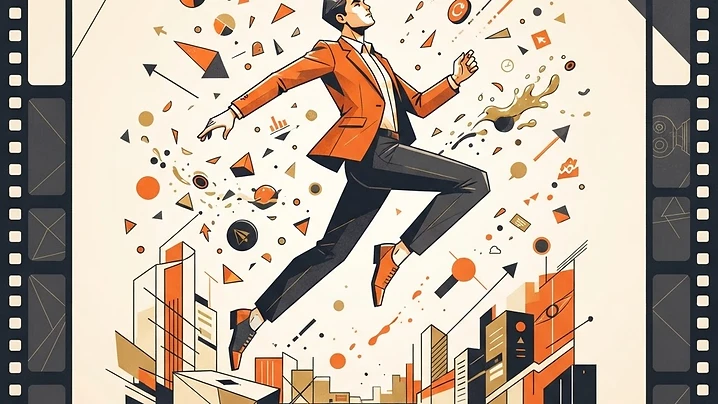
Everything you need to create cinematic frozen-time AI images and turn them into realistic videos.
Step 1 — Generate the still image
Start by creating your frozen-time scene in Freebeat. The goal is one perfect still image that looks like a professional photograph.
Include these elements: main subject, environment, lighting, camera angle, frozen objects, emotion, composition.
The frozen-time prompt formula
Create a photorealistic frozen-time scene.
Subject: [person]
Location: [location]
Action: [accident or chaotic moment]
Objects suspended: [list every object]
Lighting: [...]
Camera: [...]
Composition: [...]
Color palette: [...]
Negative prompt: [...]
Pro tip: the more specific your suspended objects, the more cinematic the final image. Instead of writing "camera gear," write: "Sony mirrorless camera, 24-70mm lens, SD cards, SSD, Rode Wireless GO, coffee splash, backpack, MacBook, tripod." AI understands detailed object lists much better.
Step 2 — Lock character identity
If you're creating multiple scenes with the same person, lock their identity before generating additional images so facial features stay consistent across the series.
Character consistency prompt
Use the attached reference image as the exact identity source.
Preserve: facial geometry, eye spacing, eyebrows, nose, beard shape,
hairstyle, ears, skin tone, age, body proportions, facial expression.
Do not reinterpret the subject.
Maintain the exact same identity while changing only:
environment, clothing, pose, action.
Best practices: use 3–6 reference images (front facing, smiling, left 45°, right 45°, full body). Avoid sunglasses, heavy shadows, selfies, and low-resolution photos.
Step 3 — Animate the image
Once your still image is approved, animate it using Freebeat's image-to-video model. The secret is subtle movement — don't animate everything, animate almost nothing.
Image → video prompt
Animate this frozen-time image in ultra slow motion.
Maintain the exact same character identity.
Keep all suspended objects frozen.
Use realistic physics.
Camera slowly trucks left.
No object duplication. No morphing. No camera shake. No sudden movement.
10–15 seconds. Commercial realism.
Movement checklist: camera moves ✅ · small object rotation ✅ · liquid movement ✅ · clothing movement ✅ · hair movement ✅ · character walking ❌ · fast movement ❌ · objects falling ❌
Step 4 — Polish the final video
Before exporting, add: motion blur (very subtle), film grain, color grading, sharpening, slight vignette, ambient sound.
Export settings: 1080 × 1350 · 4:5 aspect ratio · 24 fps · 10–15 seconds.
Step 5 — Camera movement library
- Dolly left — street scenes, city environments, creator setups
- Dolly right — walking scenes, supercars, product reveals
- Slow push-in — emotional moments, family scenes, award celebrations
- Slow pull-back — revealing chaos, showing suspended objects, establishing the environment
- Crane up — rooftops, luxury homes, pools
- Slow orbit — product shots, vehicles, statues, architecture
Bonus prompt ideas
Business: office desk explosion · coffee shop laptop spill · conference setup collapse · podcast studio accident
Creator: camera backpack explosion · editing setup collapse · drone launch mishap · livestream desk freeze
Lifestyle: airport luggage spill · luxury shopping bags · rooftop breakfast · beach picnic
Family: birthday surprise · graduation celebration · Christmas morning · baby gender reveal
Sports: basketball crossover freeze · gym protein shake spill · golf swing explosion · tennis serve freeze
Pro tips
- Generate one perfect still before animating. Fix composition and likeness first — don't rely on video generation to improve them.
- Keep the character large in frame. Faces that occupy more of the image tend to stay more consistent.
- Consistency beats complexity. A believable frozen-time scene with fewer elements is usually stronger than an overloaded composition.