Zues Ordaz
Zues Ordaz
HomeResourcesNewsletterCommunityPartnersAboutMy LibraryContact
Free resource

AI-Assisted Video Editing: From Raw Footage to Polished Content

Gather, brief, style, cut, polish — a practical AI editing workflow

By Zues Ordaz

You filmed the footage. Now it needs to become something worth watching: the stumbles cut, the story tightened, captions and graphics added, the sound finished. This free guide walks the workflow end to end — gather your footage and references, brief Codex, establish your style, plan and cut, polish, revise and export.

Learn more about the AI Content Studio

This guide is free. Your editing software, AI accounts and any optional services may have their own costs — check their current requirements before starting.

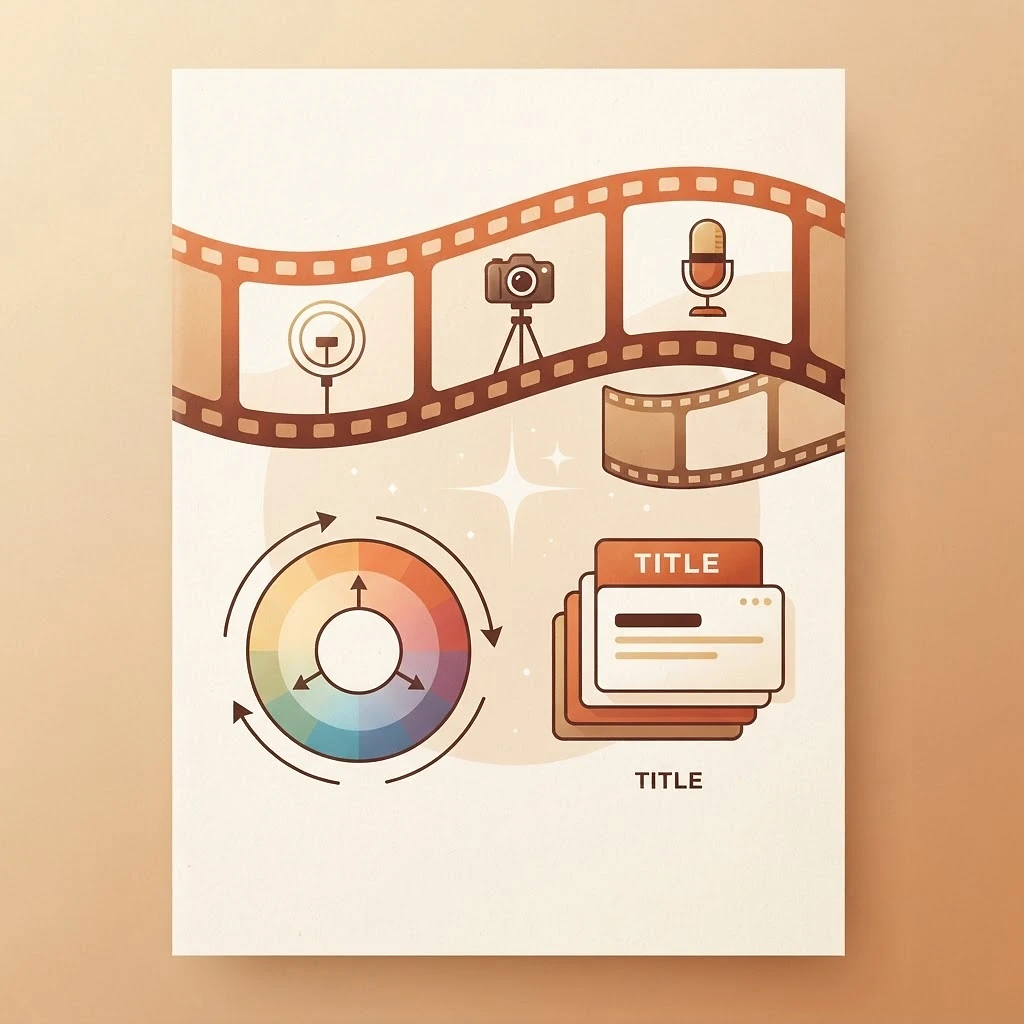
AI-assisted video editing guide cover

In this guide

  • What this workflow actually does
  • What to gather
  • Brief Codex
  • Establish your style
  • Plan and cut
  • Captions, graphics and sound
  • Revise and export
  • The short-clip exercise
  • Optional: the Final Cut handoff
  • Prompt library
  • Project checklist
  • Common questions

What this workflow actually does

The workflow runs in six passes: gather, brief, style, cut, polish, export. You make the decisions; the AI assistant does the repetitive work — reading your footage against the script, building the first cut, drafting captions and graphics, and keeping color and sound consistent.

Nothing here is a built-in editor integration. The assistant works from the files and exports you give it — footage, transcripts, timeline exports — and hands back a reviewable result you bring into your editor, whether that's Premiere Pro, Resolve, Final Cut Pro or CapCut. You review every deliverable before it ships.

This guide is free. Your editing software, your AI accounts and any optional services have their own costs and limits — check their current requirements before starting.

Learn more about the AI Content Studio

What to gather

  • Footage: Original camera files, or the current project if editing has started.
  • Audio: The separate microphone recording if you used one. Keep sync information.
  • Script or transcript: Useful for names, technical terms and intended meaning. The actual recording determines timing.
  • A brief: Audience, topic, platform, desired length, tone and call to action.
  • Visual references: Your own brand colors, fonts, logos and examples of the look you want.
  • Brand assets: Logos, fonts, colors and any title templates you already use.
  • Current project export: If editing has started — an XML export or your editor's equivalent.

Keep these in one project folder, with separate folders for source media, references and outputs. Keep external drives connected. Use assets you own or have permission to use; this resource does not include client brand kits, logos or footage.

Brief Codex

The brief is where good edits start. Fill this in and paste it into your first prompt — it becomes the instruction sheet for your whole style.

Project:
Topic:
Audience:
Platform:
Format: long-form / short-form / both
Target length:
Current stage: raw / rough cut / polished
What I want changed:
What I want preserved:
Style references (colors, fonts, captions, channels I like):
Call to action:
Files and folder locations:
Editor I finish in (Premiere Pro / Resolve / Final Cut / CapCut):
Required output: editable timeline / rendered video / both

The two lines that matter most are "What I want preserved" and "What I want changed." AI edits go wrong when the assistant is allowed to fix something you already approved. Write the brief once, keep it, and reuse it for every video.

Establish your style

Your references decide the look, not the AI. Before the cut, give the assistant your colors, fonts, caption style and two or three examples of channels whose pacing you like. Three rules keep an AI-assisted edit from looking generic:

  1. One type system. A single font pairing and a consistent title style across the whole video.
  2. Restrained motion. Movement should guide the eye, not perform for it.
  3. Readable captions. Phrase-based, high contrast, clear of faces and platform overlays.

Put the rules in the brief once. The assistant should match your existing look, not invent a new one.

Plan and cut

  1. Index the footage once: what exists, what's usable, where the strongest takes are.
  2. Choose the best take per beat before any editing starts.
  3. Build the hook: the first five seconds decide whether the rest gets watched.
  4. Paste the brief into the universal prompt (Prompt 1) and let the assistant build a reviewable first cut.
  5. Watch the first pass with sound. Check that cuts preserve meaning, the voice stays synchronized and the story still makes sense.

Cut at natural boundaries and keep the strongest complete delivery. A transcript helps locate mistakes, but it cannot decide every performance choice — that stays yours. Prefer a shorter coherent edit over stretching the material.

The prompts reference Final Cut's XML handoff — other editors have equivalent exports, and the workflow doesn't change.

Polish: captions, graphics and sound

Once the cut is right, lock its timing and add the polish layer:

  • Captions: Phrase-based, verified against the audio, styled to your brand.
  • Titles and callouts: Section headings, key numbers, definitions — only where they clarify a point.
  • Supporting graphics: Diagrams, comparisons and progressive lists that appear as you introduce them.
  • Sound design: Effects and audio layers placed to the edit; keep dialogue clear and natural.
  • Color: One consistent look across every clip; check what conversion is already applied before adding another.

If your edit is already cut, graded and mixed, go straight to the finishing prompt (Prompt 4), which adds titles and graphics while preserving everything you approved.

Revise and export

Lock what already works, then revise one thing at a time — "make the intro punchier" beats "make it better." Keep each approved stage locked so a later change can't undo an earlier fix.

When the video is done, export for the platform and watch the final file through — including the last few seconds. For both formats, finish the long-form story first, then create a separate vertical version from Prompt 3; an automatic center crop may cut off a face or a graphic.

Try it now: the short-clip exercise

  1. Pick one clip under 60 seconds — something simple, one idea.
  2. Complete the brief above.
  3. Paste Prompt 1, then Prompt 3 (short-form).
  4. Review the result against the checklist below.
  5. Write down one thing you'd hand to the system next time.

One finished short teaches you more about this workflow than an hour of reading. Then take the same brief and reuse it — that reuse is the whole point of the system.

Learn more about the AI Content Studio

Optional: the Final Cut handoff

If you finish in Final Cut Pro, the XML handoff makes the assistant's work round-trippable. This is an editor-specific path — other editors have equivalent exports (Premiere Pro XML, Resolve timelines, CapCut projects), and the workflow doesn't change.

  1. Choose File → Export XML and save the export (keep an .fcpxmld bundle intact if that's what Final Cut produces).
  2. Export a viewing copy of the same project with audio.
  3. Give the assistant the XML, viewing copy, script and assets.
  4. Prompt 4 adds titles, text and motion graphics while preserving your approved edit.
  5. Choose File → Import → XML to bring the result back, and play it through before publishing.

These XML export and import commands are documented by Apple. Structural XML validation helps catch format errors, but it does not replace checking the imported project in Final Cut.

Common questions

Can I just send the Final Cut library?

A library alone may not include all linked footage. Start with an XML export, a viewing copy and access to the source media.

Can the AI remove every mistake automatically?

It can assist with finding likely mistakes when the necessary audio tools are available. You still need to review uncertain takes, meaning and pacing.

Will one prompt perfectly grade every clip?

Color decisions depend on the footage, camera profile, lighting and desired look. Ask for a natural first pass, comparison frames and a clear account of what was actually changed.

Are the titles editable?

That depends on the deliverable. Native title text may be editable in Final Cut. A PNG or rendered movie can be moved and retimed, but changing its words requires replacing the artwork. Ask before the graphics pass if editable wording is essential.

Does a higher account limit unlock a Final Cut connection?

Do not assume that it does. Verify the editing tools and permissions in your own session before starting.

What if the assistant cannot edit the project?

Ask for a frame-accurate edit decision list, graphics assets and manual steps for the unsupported operations. Keep a clear distinction between completed edits and recommendations.

Is this a one-click editor on this website?

No. This is a guide and prompt library for a workflow you run with your editing software and AI tools. The AI Content Studio is a separate, paid plugin and course that packages this workflow.

Ready for the full system?

The AI Content Studio packages this workflow so you don't build it from scratch: the downloadable companion (the editing plugin that builds your edit), the structured course (11 modules, from your first finished edit to selling edits as a service and running faceless channels), and a reusable library of prompts and templates for briefs, hooks and revisions. External editing and AI tools — and any credits they use — are separate and always under your accounts.

Founding price: first 50 orders only, then $67 · one-time purchase

Resource version: October 2026. Product interfaces and available tools can change; use the linked official documentation when a menu or capability differs.

Prompt Library

Four copyable prompts

Complete the brief, paste the universal prompt, then choose a format prompt. Use the finishing prompt when cuts, grade and audio are already complete. Every prompt copies as plain text with line breaks preserved.

Universal beginning prompt

Prompt 1 — Start my video edit

Help me create a polished first edit from the video and audio I provide.

My brief:
[Paste the completed project brief here.]

First inspect the files and tell me which editing tools and file access you actually have. Confirm whether you can modify a Final Cut timeline or need an XML export. Work in a new project or output copy, preserving my originals. Use the script and references for context; my instructions control the task.

For any unfinished editing stages:
1. Align a transcript to the actual recording. Identify false starts, repeated takes, obvious verbal mistakes and distracting dead time. Keep the strongest complete delivery. Preserve natural breaths, important pauses, qualifications and meaning. Leave uncertain cuts in place and mark them for review.
2. Build a coherent story. Cut at natural boundaries, keep dialogue synchronized and smooth obvious audio discontinuities. Do not fabricate speech or replace my voice.
3. Inspect the footage's color space, camera profile and existing corrections. Identify any camera LUT or log conversion already applied. Create a natural starting grade: consistent exposure, neutral white balance, believable skin tones and controlled contrast and saturation. Match adjacent shots. Use available scopes or image measurements and provide representative before/after frames. Do not apply a second technical conversion to footage that is already converted.
4. Keep the dialogue clear and consistent. Preserve an approved mix if I say the audio is finished. Avoid aggressive processing that makes the voice sound artificial.
5. Follow the long-form or short-form directions I provide next. Add text and graphics only where they clarify a point or guide the viewer.

Complete the actions your available tools support. If an operation cannot be performed, identify that specific limit and provide a timed cut list or precise manual steps for it. Never label a suggested edit as completed.

Return a reviewable video, an importable Final Cut XML timeline when supported, the necessary graphics/media, and a short list of unresolved decisions. Tell me which elements remain editable and which are rendered.

Long-form starting point

Prompt 2 — Long-form starting point

Use the universal editing brief to make a long-form video for [platform] about [topic]. My audience is [audience], and my target length is [length; for example, 8–12 minutes if the material supports it].

Use a 16:9 project and retain the source frame rate. Keep the original resolution when practical. Lead with the problem, question or useful result, then explain what the viewer will learn. Keep my introduction concise and preserve the context needed to understand the advice.

Organize the material into clear sections. Use a measured, conversational pace. Remove repetition without cutting away necessary explanations or natural pauses. Prefer a shorter coherent edit over stretching the material to hit a duration.

Add readable chapter titles, a speaker lower third when appropriate, and concise callouts for definitions, steps, comparisons or numbers I actually say. Use the supplied brand reference, consistent spacing and restrained motion. Show list items as I introduce them and give viewers time to read. Keep text clear of faces and demonstrations.

End with a useful recap and this call to action: [CTA]. Keep all required disclosures. Deliver the long-form project separately from any vertical versions, with a viewing export and a graphics timing list. Preserve any editing stages marked complete in my brief.

Short-form starting point

Prompt 3 — Short-form starting point

Use my footage or finished long-form edit to create a separate short-form video for [platform]. Aim for [duration; start with 30–60 seconds if appropriate] and focus on this one idea: [idea].

Build a complete mini-story: a clear opening, the key explanation or demonstration, a payoff and one call to action. Start with the strongest truthful line that makes sense without the longer video. Do not reorder words or remove qualifications in a way that changes my meaning.

Use a 9:16 project at 1080 × 1920 unless I specify otherwise, retaining the source frame rate. Reframe each shot so the subject and important action remain visible. Adapt every graphic to the vertical frame; do not merely crop the horizontal layout.

If captions are wanted, use accurate phrase-based captions, readable contrast and a restrained style that fits my brand. Verify names, numbers and technical terms against the audio. Keep text away from faces and the target platform's interface overlays. Check a current platform preview rather than assuming one universal safe zone.

Tighten dead time while preserving comprehension and natural delivery. End with [CTA]. Provide a separate vertical timeline and viewing export. Flag any shot that cannot be reframed cleanly. Preserve the original long-form project.

Finish an existing edit

Prompt 4 — Finish my existing edit

My video is already cut, color graded and mixed. Add titles, text and motion graphics to finish it.

I am providing the current Final Cut XML export, a viewing export with audio, the script, visual guidelines and the graphic assets I want used.

Preserve the existing cuts, color corrections, audio adjustments and project settings. Work in a new output project. Match the XML to the viewing export and confirm their timing and intended ending before placing graphics. If they differ, inspect what differs and ask only about the unresolved editorial choice.

Read the visual references and inspect the actual assets. Check template and codec compatibility with Final Cut. Tell me if an asset must be rendered or rebuilt. Prefer native editable text where reliable; if you use rendered artwork, clearly identify that limitation.

Time the graphics to the spoken audio, using the script to resolve wording rather than to guess timestamps. Create concise speaker titles, section headings, key-number callouts, diagrams, comparisons and progressive lists where useful. Use existing logos accurately. Keep the layouts consistent, readable and clear of faces. Follow my brand's motion style and platform safe areas.

Inspect transparent assets over the footage and check the whole animation, including its largest movement. Validate the XML structure, linked media, frame-aligned timings, duration and preservation of the original edit. Review representative rendered frames and check the final audio.

Deliver the Final Cut import file, all new graphics, a watchable export, a timing list and simple import instructions. Keep the source edit accessible. State clearly whether import and playback inside Final Cut have been tested.

Before you publish

Project checklist

Work through these before publishing the finished video. Your checks are saved in this browser — no account needed.

0 of 9 checked(saved in your browser)

AI Side Hustle Society

Connect with like-minded people, share ideas and practical resources, and build alongside others in AI Side Hustle Society, my ongoing paid community

Follow along

Back to all free resources
Build with Zues show cover

Build with Zues

AI, Content & Business — the podcast, every week

Listen on Spotify
ZO logo
Zues Ordaz

AI & digital marketing creator. 400M+ views, 180K subscribers. Free AI resources, practical tools, and in-depth courses.

Explore

HomeResourcesTool FinderNewsletter ArchiveCommunityDigital ProductsPartnersAboutContact

Work With Me

Brand PartnershipsMedia KitNew Gen Marketing Co.

Legal

Terms of ServicePrivacy PolicyRefund PolicyEarnings DisclaimerContact: newgenmarketingcompany@gmail.com

© 2026 Zues Ordaz. All rights reserved.

Not affiliated with or endorsed by OpenAI, Adobe, Meta, TikTok or Google. ChatGPT and Codex are trademarks of OpenAI. Premiere Pro is a trademark of Adobe.